Zoom now allows hosts to enable live, automated transcriptions of their sessions! We at the Disabled Students Program highly recommend instructors activate this feature by default for all their Zoom lectures. Closed captions promote inclusion via universal design. If enabled, all viewers can read closed captions in their Zoom windows at the click of a button!
This feature is provided by an AI that is now built directly into Zoom, meaning you won’t need to hire someone else to type captions, nor will you need to incorporate your own closed caption software (such as Otter). Keep in mind that because the source of these captions is an AI, they will not be 100% accurate. Even so, their accuracy is pretty astonishing.
The following video shows you how to enable this feature if you are the Zoom session’s host as well as how to toggle the captions on and off if you are a participant. You can also visit Zoom's official website regarding their closed captioning services.
How to enable closed captions in Zoom
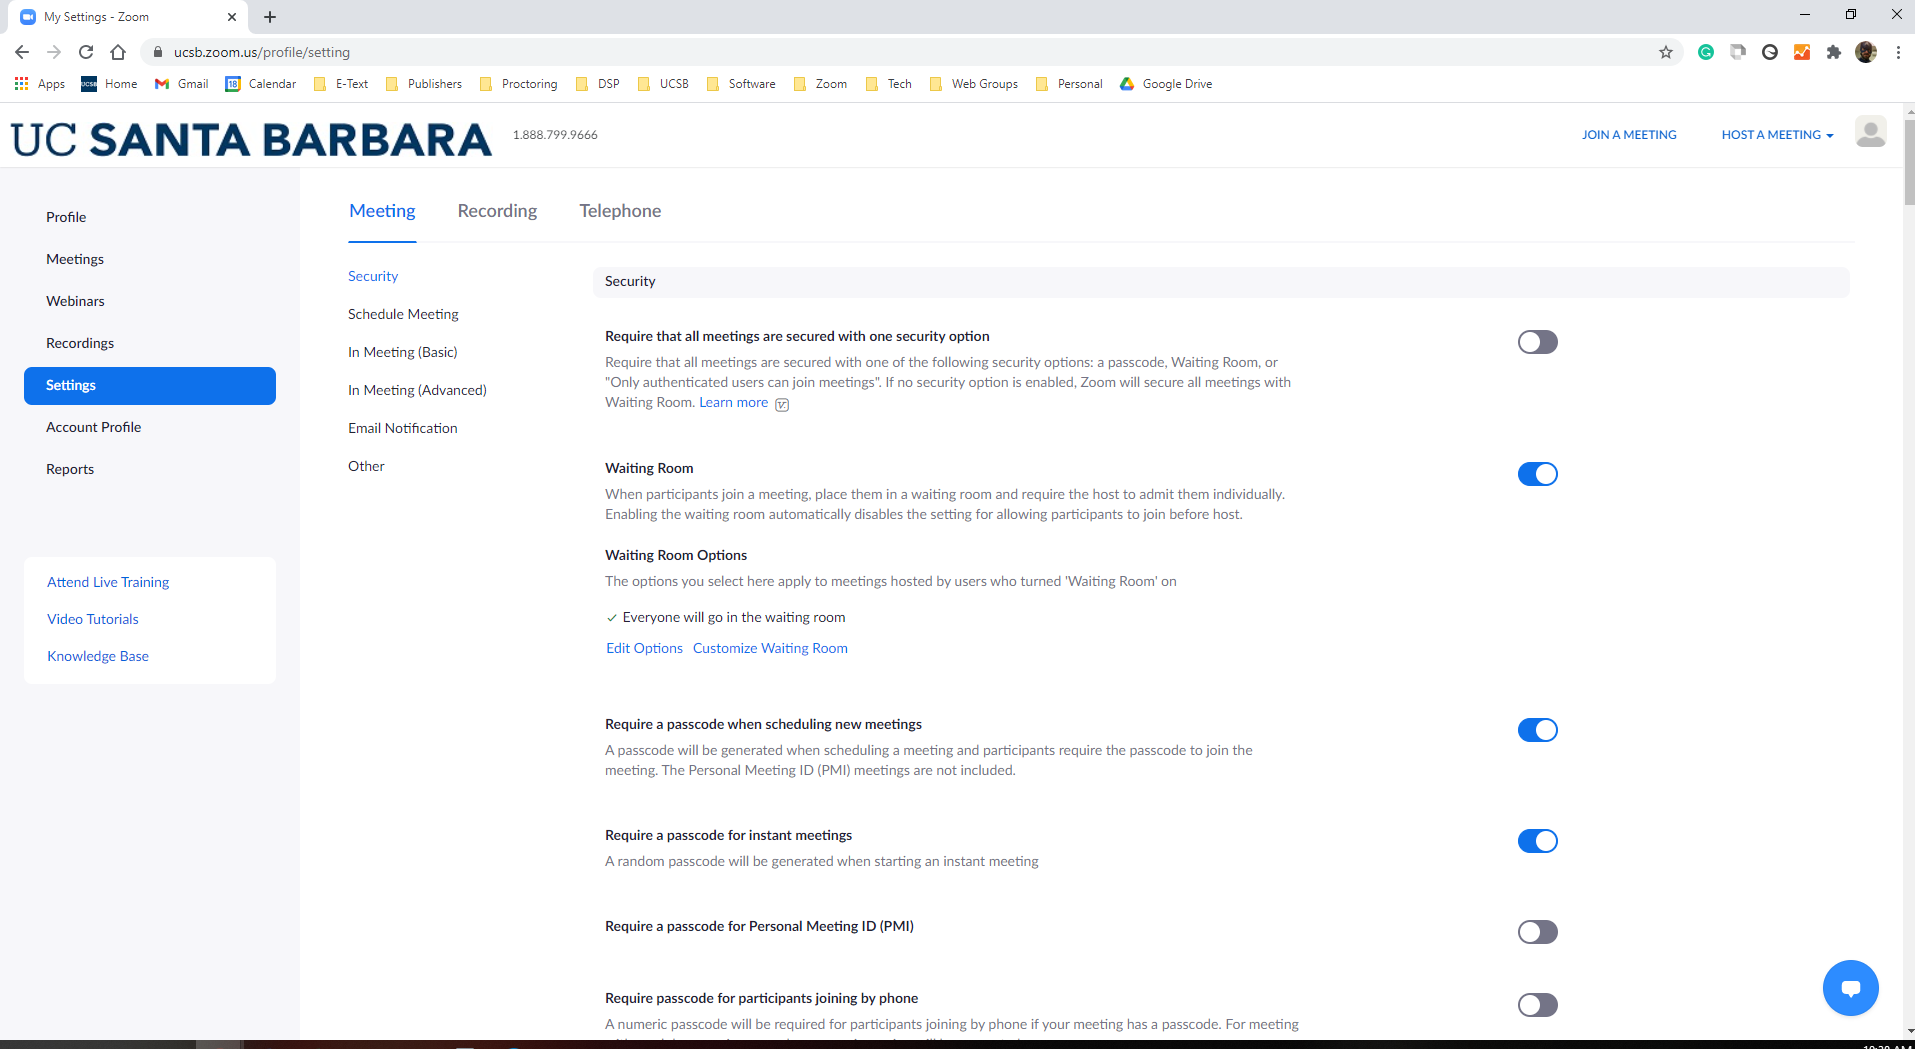
- First, log into your Zoom profile on your web browser with your UCSB Net ID.
- Select “Settings” along the left and then “Meeting” along the top.
- Click on “In Meeting (Advanced)” to scroll rapidly down to those options.
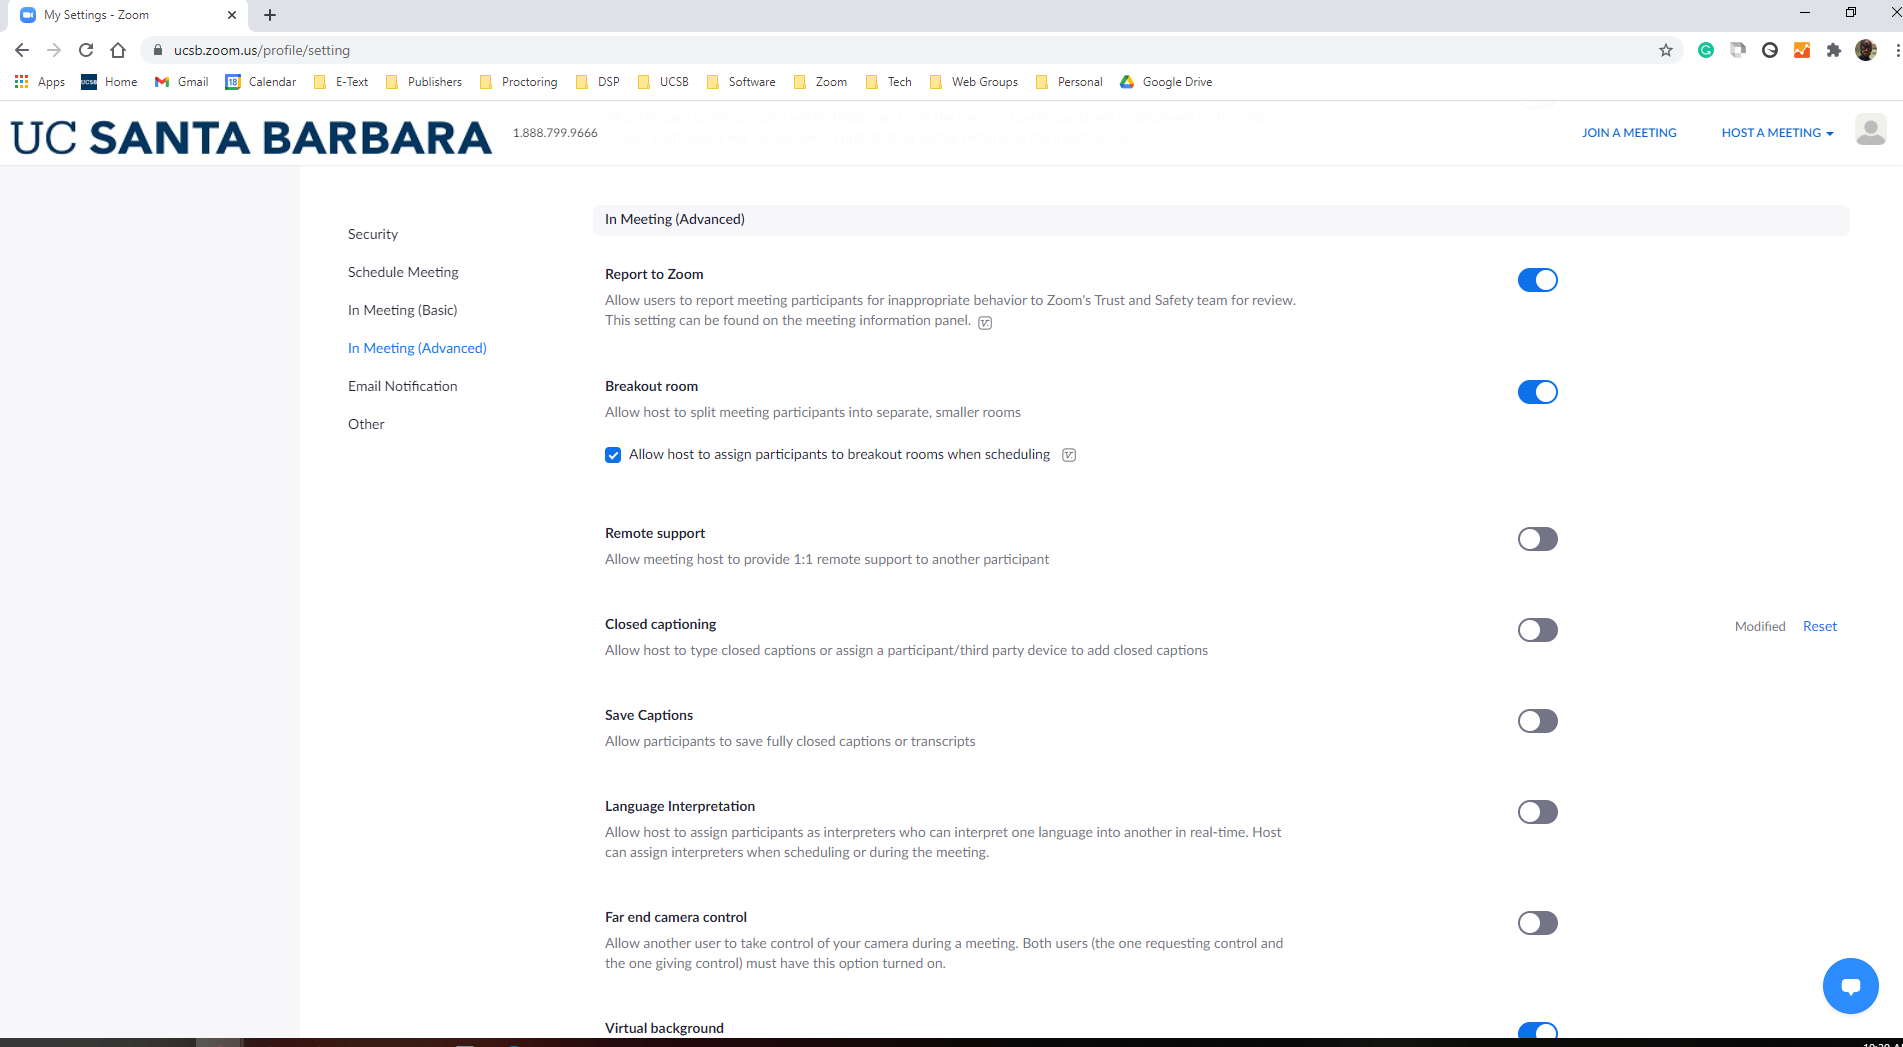
- Look for “Closed captioning.” Toggle that option on (the switch will turn blue).
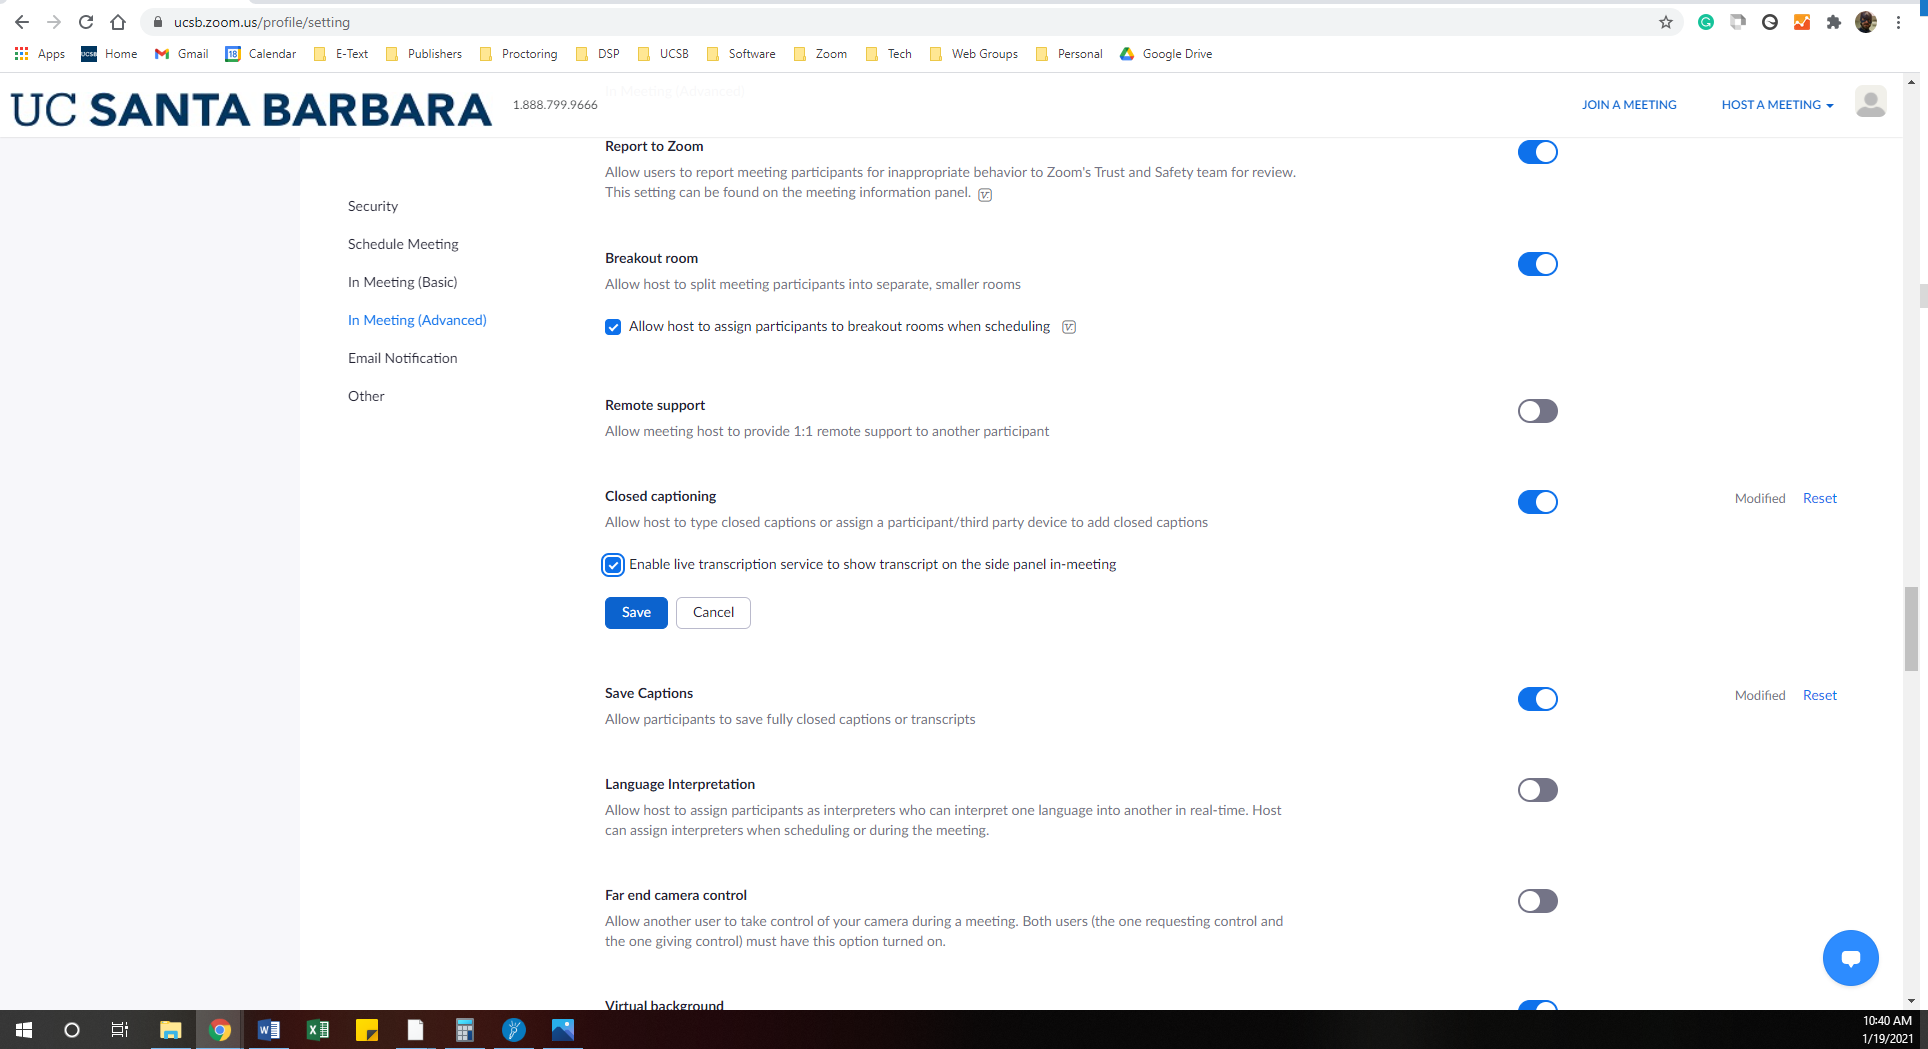
- A message will come up saying this action will also turn on the Save Captions option below it. That’s okay! Select “Turn On.”
- A new option will show up that says “Enable live transcription service…” Click in the adjacent box and then click “Save” to allow this feature.
- Now whenever you host a Zoom session, a new Closed Caption/Live Transcript feature will show up along the bottom of your Zoom window.
Even though you only need to enable this overall feature one time with regard to your Zoom account, you will still need to actively offer closed captions per Zoom session.
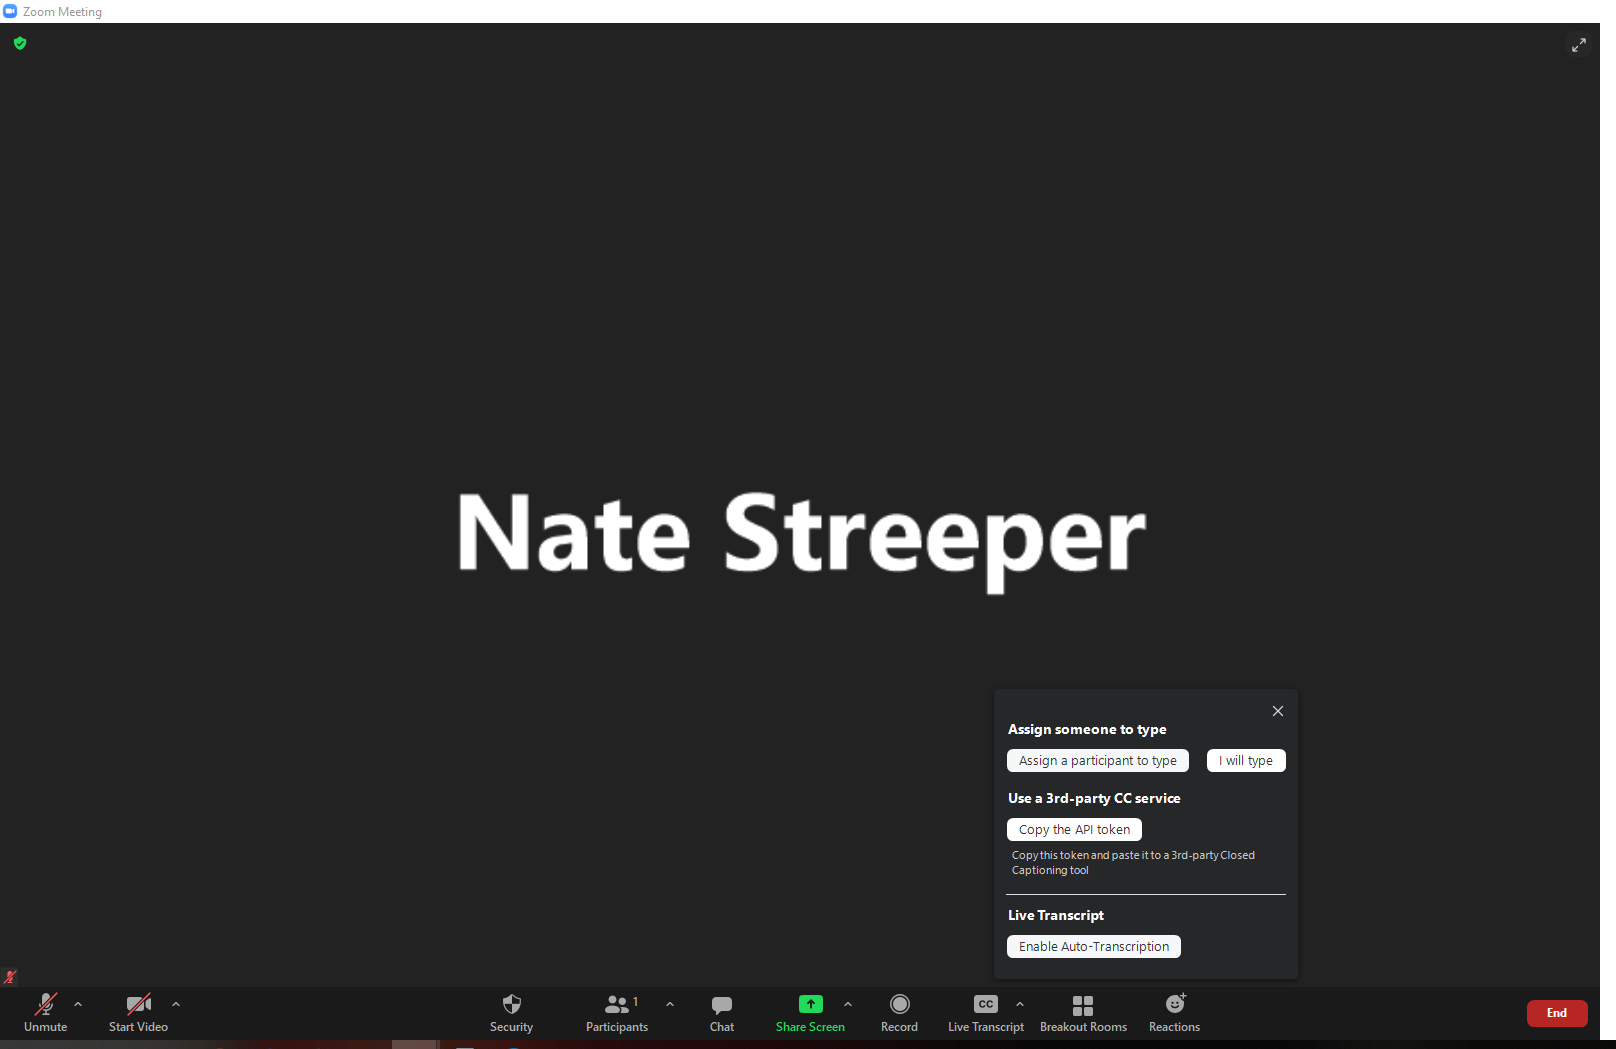
- Click on the Closed Caption button along the bottom of your Zoom window.
- You will see a list of options. Click on “Live Transcript” at the bottom to toggle captions on.
- As the host, you should now see captions along the bottom of your Zoom window.
- Participants can then choose to activate captions by clicking on the arrow to the right of their Closed Caption button.
- Participants can make the captions appear as subtitles within the Zoom window or in the chat bar to the right of the Zoom window.
- If the latter is optioned, the entire transcript can be saved by clicking “Save Transcript” in the bottom-right corner.